Wall clock with own hands - step by step instruction with
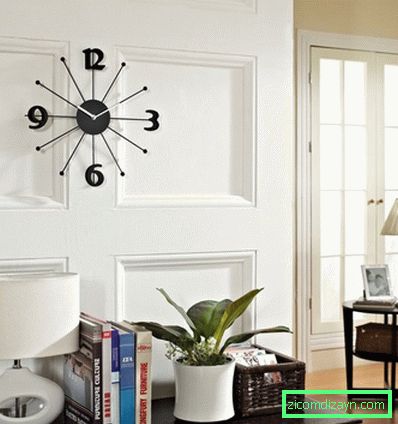
Any home interior will help incredibly transform the brand new wall clock. At the same time, it is not necessary to travel around the city in search of a new masterpiece that will become a wonderful new thing.

The wall clock in the interior will look great if you make them yourself! For example, you can decorate the old hours you have. You can also make new ones using different materials, besides they are also easily accessible.
In addition, they will be a great gift, especially to relatives and friends, friends who are not punctual.

How to make a wall clock with your own hands
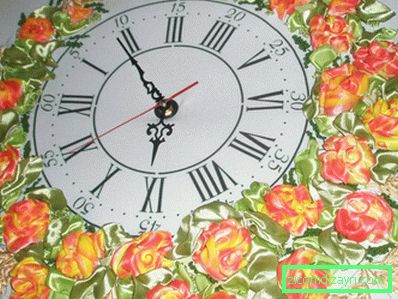
Taking the most common embroidery hoop, you can get a pretty interesting wall clock. Also, you will need decorative buttons. The base can be chosen from a fabric that perfectly matches with the texture and color design of your interior.
You can also use any buttons (preferably a collection), which are completely empty. They can be of different shapes, colors, sizes.
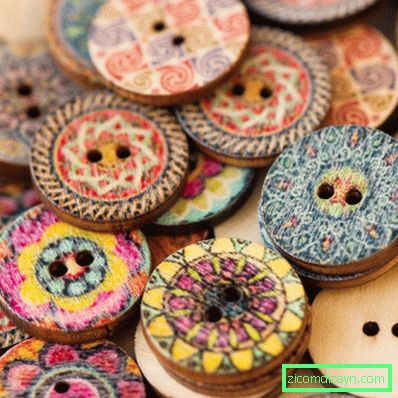
For brand-new watches, you need to prepare: an old watch or find arrows with a mechanism, a frame, a fabric with buttons, a ribbon / ribbon, if you want - a thin ditch / cardboard.

We also recommend:
 Space under the stairs - ideas of functional use + 80 pics
 Stand for flowers in the interior - 60 photos of ideas from designers
 Glass doors in the interior - which to choose? Overview of popular novelties + 75 photo designs
The clock mechanism / the old watch should not be a shame to disassemble, to remodel for a new decor. The arrows should be removed together with the nuts that secure them. It is important to know in this case, in what sequence they are connected. The fabric is fastened between the embroidery frame, cut off the unnecessary edges, then sew the buttons. The latter arrange in accordance with the numbers on the dial.
Then the mechanism of the clock is attached. Directly in the center of the dial, you need to make a small hole in the size, and on the other hand, you need to attach the mechanism so that the mount for the arrows is directly in the center of the dial of your watch. To fix the mechanism, cut out a circle of cardboard sheet, wood. Its diameter should be the same as the embroidery frame. A mechanism is glued to it. Also, you can simply hang it on the ribbon, which is attached to the frame. We recommend making a loop so that you can hang an accessory on the wall. It remains to screw the arrows and voila! See variants of similar items on our wall clocks photos with your own hands.
Option number 2
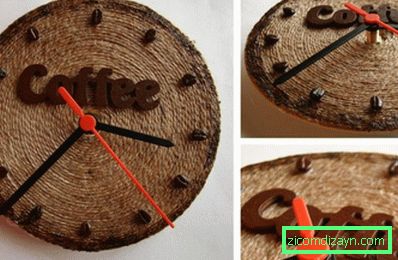
The clock can also be made from old unnecessary magazines / newspapers.
We also recommend:
 Decoration of the aquarium: photo-review, stylish design solutions (80 photos)
 Bed built-in closet: effective space saving (70 photo design)
 Decorative stone in the interior - 75 photos of the perfect design

For this you need to prepare: identical in size 24 pages; pencil, scissors, transparent sticky tape, long needle, silk thread designed for embroidery / floss, transparent plastic discs (2 pcs.), circle cardboard with a hole in the center, a clockwork mechanism with arrows.
And so, first you need to take a pencil, which turns into a newspaper. Pipes need to be done accordingly, 24 pieces. The ends should be fixed with a sticky tape, then they will not naturally be unwound. Approximately the third part needs to retreat from the end of the tube, then bend it in half.

We also recommend:
 Curtain rails - 80 photos of an elegant and effective combination in the interior
 Decoupage of a glass jar - master class with step-by-step instruction (70 photos of ideas)
 Decor of flower pots - 55 photos of ideas for interior decoration
In the needle you need to stick a thread of silk / mulina, then pass it through that same bent tip of a paper tube. Use the needle to stretch and tie the knot on the tip of the thread. Just sewn other tubes. They should be placed in the circle of your watch.

On top of the tubes you need to put a prepared transparent disc. This should be done so that the hole remains in the center of the circle, which turned out thanks to the ducts. Then the mechanism is applied taking into account that the place of fixing your arrows coincided with the hole in the disk. Then you need to turn the clock and put also the second same disk. On top of it is applied cardboard, and using a nut, the clockwork is attached. In the end, the hour hands and voila will stay attached!

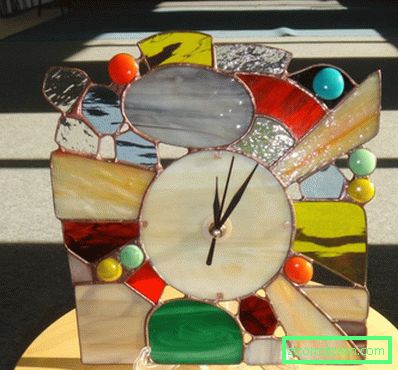
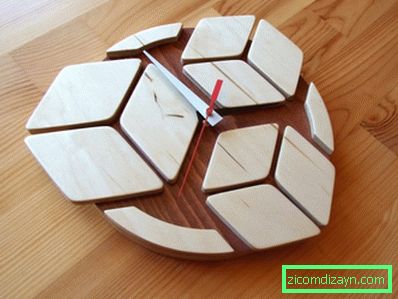
We offer to view photos of ideas on how to decorate a wall clock, as a result of which you will succeed!
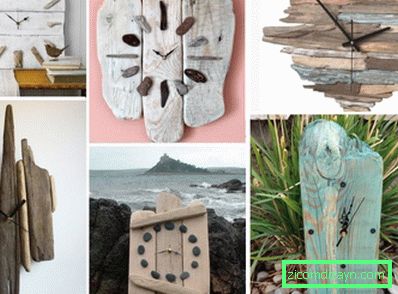
Photo of wall clocks made by own hands in the interior