Flowers from tapes with their own hands - 6 master classes
In this material we presented 6 step-by-step master classes for beginners, following which you can make your own flowers with ribbons for making / decorating:
- Artificial flowers (interior);
- Wall panels;
- Topiariyev;
- Decorative and wedding bouquets;
- Jewelery (rings, brooches, necklaces, bracelets);
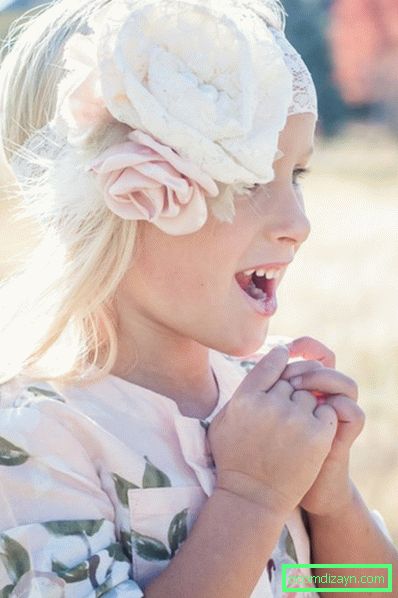
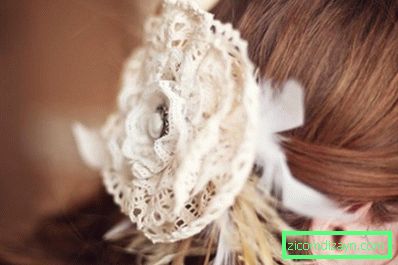
- Accessories for hair (rims, bandages, hairpins, elastic bands);
- Budionier
- Packaging for gifts;
- Decorative pillows;
- Caskets for jewelry and other small items;
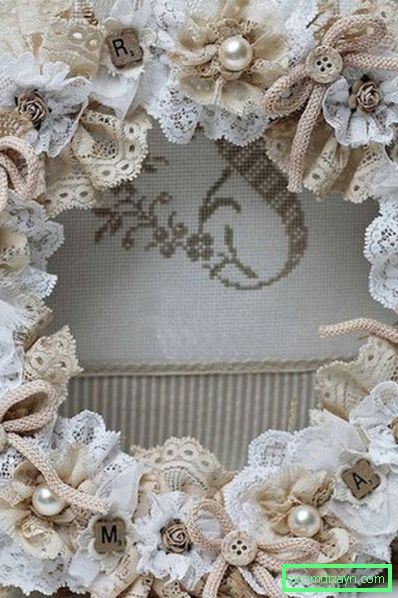
- Albums and notebooks;
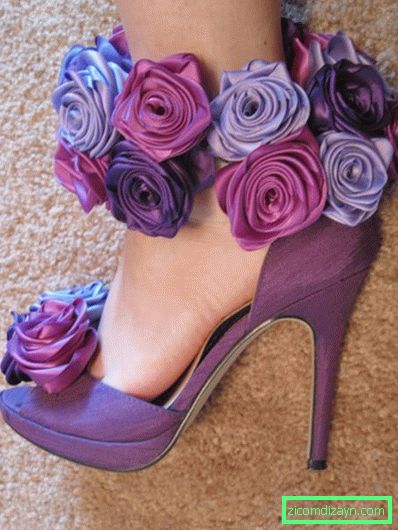
- Applications for clothes, bags and shoes;
- ... and much more! This collection of photos shows only a small part of the crafts that you can do by mastering various techniques for making flowers from ribbons:


In addition to step-by-step instructions, you will find 30 photo-ideas for inspiration, as well as a useful selection of videos.
Master class 1. A twisted rose from a single ribbon
Let's start, perhaps, with the most simple and rather fast way of making roses from ribbons with our own hands. Having mastered the technique of twisting a rose from a tape, you can make them sitting in front of the TV. Depending on the width and length of the tape used, you can twist both small and lush buds. You can use a tape from any material - organza, satin, cotton and even stripes of linen fabric.

What you need:
- Any ribbon - the longer and wider it will be, the bigger the bud. For a medium-sized rose there will be enough ribbons with a width of 2.5 cm.
- Thread with a needle or a hot glue gun.
- Scissors.
How to wring a rose from a ribbon:
Step 1. Straighten and lay the ribbon in front of you, then one of the ends of the ribbon (any) bend over the braid, as shown in Fig. 1.

Step 2. Wrap the tip of the tape in a roll in two or three turns to get the core of the rose, fix its bottom part with glue or just sew (see Figure 2).
Step 3. Now we begin to form the rose petals. To do this, bend the ribbon again obliquely to the outside (see Figure 3) and wrap the core of the rose, holding (and if desired fixing with thread / glue) the entire workpiece from the bottom (see Figure 4).
Step 4. Further continue to "build up" layers of "petals" according to the scheme: bend the ribbon to the outside - wrap the bud - bend the ribbon to the outside - wrap the bud, etc. (see Figure 5). Periodically fix the tape layers at the base of the bud with an adhesive or thread with a needle. Remember that the most important thing is not to let the ribbon blossom.
- Experienced decorators can twist the rose, fixing the layers of the tape just a couple of times (at the beginning and at the end), but for beginners it is easier to pierce / glue the "petals" of a rose much more often.
- It is more convenient to twist the rose holding the base of the bud between the index and middle finger, so that the flower would lie on your palm.
Step 5. When the rose reaches the desired size, press the end of the tape to the base and tie / paste (Figure 6).
- Practice twisting roses from ribbons of different widths and lengths, experiment with the angle of ribbon bending, the number of bends per layer or the density of twisting to achieve the effect that you like best. So, for example, a rose twisted from a tape can be very multilayered or, conversely, softer, have sharper corners or, conversely, rounded.
If you have any questions, we suggest you watch a video how to make a flower from a satin ribbon with your own hands in this technique.
Master class 2. Realistic flowers from ribbons (peonies, roses or ranunculus)
Now we suggest you familiarize yourself with the technique, following which you can achieve the most realistic and elegant kind of petals, which is only possible for flowers made by yourself. Take a look at this collection of photos and see for yourself.


Despite all the beauty and apparent complexity, even beginners can make such flowers from ribbons with their own hands.
You will need:
- Candle or lighter.
- The tape is 5 cm wide (for the average peony) from 100% polyester (it can be both artificial silk / satin and organza). Keep in mind that ribbons made from natural materials will not work. If you want to make a large and lush peony, then you can use either more petals and / or a ribbon with a width of 7-8 cm.
- Scissors.
- Needle and thread in the tone of the tape.
How to make a peony with your own hands:
Step 1. Cut the tape into squares in the following sizes and number:
- 5 × 7 cm (6-10 pieces);
- 4 × 6 cm (6-10 pieces);
- 3 × 5 cm (6-10 pieces);
- 2 × 4 cm (6-10 pieces).
In the end, you should get a minimum of 24 and a maximum of 40 squares. The more you make the petals, the more splendid and more the bud will turn out.
Step 2. Now decompose the groups of squares into stacks. Then from each stack cut out the petals (the shape is shown in the figure below). Keep in mind that neatness is not important here, everything can be done by eye, without measurement and without the use of templates. The main thing is that you have petals of different sizes: very large - large - medium - small.

Step 3. It's time for the most interesting - giving shape and volume to our petals. To do this, light a candle or lighter and, holding the edges of the petal at a distance of about 2 cm from the fire, deflow them (but do not fall for it!). Rotate the petal smoothly, but quickly. So you need to process all your workpieces.
- If you want the petal to become more rounded, hold it over the fire a little longer, but do not shorten the distance from the fire. However, sometimes slightly petrified from the fire petals look quite organic.


Step 4. Take one of the smallest petal, roll it into a roll and make a pair of three stitches in its lower part for fixation. You got the core of your flower.

Step 5. Attach the second small petal and fasten it with a pair of stitches. Continue to fasten the petals one after another, adhering to the chess order. When you are done with the small petals, proceed to attach the middle petals, then the large ones, and finally the largest ones.


Flowers from two colors

Flowers from ribbons of the same shade
Well, that's all, Peony is ready!


By the same principle, but by changing the number, shape, size and color of the petals, and by adding stamens from beads or threads to a mulina, you can create roses, tulips, poppies or Ranunculus.

Following our master class, you can make flowers not only from satin ribbons, but also from organza. What is not a reason to start old tapes for children's bows?
See also the material: How to make flowers from tissue - 4 master classes for beginners.
Master class 3. Simple flowers from tapes in 5 minutes
If you need to make flowers from tapes with your own hands as quickly as possible, for example, to wrap a gift, then this step-by-step instruction will help you out.

Flower from satin ribbon
What you need:
- Any tape;
- Beads;
- Scissors;
- Hot glue gun.
How to make a flower from a ribbon:
Step 1. Cut out a small circle about 5 cm in diameter from cardboard or thick paper. This circle will become the base of your flower and will be hidden under the petals, so it is not necessary to cut it carefully.
Step 2. Start gluing the tape to the top edge of the circle, forming a pleating, as shown in the photo below.

Step 3. Continue to stick the tape in a spiral in 3 or more layers. When you reach the center, cut off the excess tape, tuck it in the tip and gently glue it.

Step 4. Drop a large drop of hot glue into the center of the flower and quickly fill it with beads.

Master class 4. A small textured flower from the braid-wave
If you want to decorate a ring with a flower, a bezel, a brooch or a necklace, then a rose made from a braid wave will do the best. After all, it turns out so neat, strong, elegant and small.

What you need:
- A tape wave of medium width and 50-60 cm long (for one rose) or two ribbons of different colors of the same width, 25-30 cm in length (if you want to make a two-tone rose). However, the length can be more or less, it depends on what size you want to make a bud.
- Scissors.
- Sewing machine.
- Threads with a needle in the tone of the braid.
Step 1. Take two ribbons of the same length and twist them together as shown in the photo. Before you start the weaving, fasten the two bands with some kind of clamp so that they do not bloom.

Step 2. Stitch the edge of your workpiece to fix the weave.


If you do not have a car, it does not matter. Just walk in large stitches along the entire length of the braid.

Step 3. To make a flower, just start to fold the tape from one end, in some places, fix the layers with hot glue.

Step 4. When you're done, you should have something like this bud. The remaining end of the braid simply tuck under the flower and fix it with glue.

Step 5. Glue a small circle of felt, cardboard or dense fabric to the base. In the future, to this basis, you can paste everything from the barrette to the ring.
Step 6. Have you noticed that all the petals of our flower are closed? In this form it is more like a peony or a Ranunculus. If you want a flower to become a rose, simply spread each petal outwardly one by one.

Master class 5. Poinsetia with leaves
It's time to tell you about how to make a punch belt from which you can decorate anything, for example, an autumn wreath as in the photo below.
What you need:
- Tape width 4-6 cm red, cream or any other desired shade;
- Green tape (for leaves) 2-3 cm wide;
- Scissors;
- Needle with thread in the tone of the ribbon for petals or thin copper wire (jewelry);
- Beads;
- Hot glue.
How to make a punch from tapes:
Step 1. Cut three lengths of the same length from the tape. How long should the lengths be? It depends on what size flower you need. If you want to make a flower with a diameter of 12 cm, then the length should be exactly this length.
Step 2. Give the resulting rectangles a diamond shape. You can do this in the following way: fold the pieces stacked on top of each other, fold the stack in half, then give the resulting square a triangle shape, cutting off the excess on the sides. Voila, the rhombuses have turned out!
Step 3. Squeeze each diamond in the middle and tie the folds with a thread (you can make a pair of stitches) or jewelry wire.
Step 4. Fold all three blanks next to each other, then tie them with a thread or jewelry wire to make a flower. If necessary, correct the petals.

Step 5. In the center of the flower, glue several bead-stamens.
Step 6. Now let's take care of the leaves. Cut two lengths of 6-9 cm from the green ribbon (the length of the pieces should be about three times the width of your green ribbon). Put one of the rectangles on the table with the wrong side up. Bend its right side down the slant to make the workpiece L-shaped (see photo). Now fold your G-word in half to get a blank in the form of a house with a roof. Pick up the bottom of the "house" with a pair of stitches or glue.

Step 7. Now the leaves can be pasted / sewed to the back of the punch, to the round felt backing (if any) or directly to the decor object (rim, cushion, etc.).
Masterclass 6. Flower from lace ribbon
And finally, we present one more express method of making a simple but beautiful flower with our own hands. The principle of operation in this technique is similar to that described in MK No. 3, but instead of glue for fixing the craft, a thread with a needle is used here, and instead of a satin ribbon - a lace. However, you can use any other. From lace flowers are obtained excellent brooches and hairpins.

What you need:
- Lace band;
- Scissors;
- Needle with thread in the tone of the tape;
- Beads;
- Hot glue.
How to make a flower from lace:
Step 1. Hook the tape along the bottom edge with wide stitches.

Step 2. Once you have finished sewing, pick the ribbon by pulling the thread, and connect the two ends so that the circle closes and the first layer of petals is formed.


Step 3. Glue a small circle of felt or other fabric to the center of the flower's underside. Sew to it the necessary accessories, for example, a pin to make a brooch.
Step 4. Glue in the center of the beads, rhinestones stones or other decor.

If you want to continue your acquaintance with the art of making flowers from tapes with your own hands, then we offer the following step-by-step video instructions for viewing.
From this video, you will learn how to make Kanzash flowers from a 2.5 cm ribbon.
This video shows how to make a rose from a satin ribbon, different from our master class number 1.
Here is another master class on making roses in the style of the shebbi chic.